Prepping Your Skin
Before applying your DIY toner, it’s essential to prepare your skin to guarantee maximum effectiveness and comfort.
Start with these simple steps:
- Cleanse: Use a gentle cleanser to remove dirt and makeup, ensuring a fresh canvas.
- Exfoliate: Lightly exfoliate to eliminate dead skin cells, promoting better absorption of the toner.
- Pat Dry: Gently pat your skin dry with a clean towel, avoiding any aggressive rubbing.
- Moisturize: Apply a light moisturizer to hydrate your skin, creating a balanced surface for the toner.
Application Techniques
Once your skin is prepped and ready, applying the toner correctly can enhance its calming effects on redness. Start by saturating a cotton pad with the toner, then gently swipe it across your face, avoiding the eye area. You can also use your fingertips to pat the toner directly onto your skin for a more intensive treatment. Allow it to absorb fully before applying any additional products.
| Application Method | Tips |
|---|---|
| Cotton Pad | Use gentle, sweeping motions |
| Fingertips | Dab lightly for better absorption |
| Frequency | Apply twice daily for best results |
| Storage | Keep in a cool, dark place |
Additional Benefits of the Toner
Here are four compelling reasons to incorporate it:
- Hydration: It helps lock in moisture, leaving your skin plump and refreshed.
- Pore Minimization: Regular use can tighten pores, giving your complexion a smoother appearance.
- Balancing Oil Production: It regulates oil levels, perfect for those with combination skin.
- Soothing Sensation: The calming ingredients provide a cooling effect, making it ideal for post-sun exposure. Additionally, the inclusion of hyaluronic acid in this toner can enhance its hydrating properties.
These benefits make this toner a versatile addition to your daily regimen!
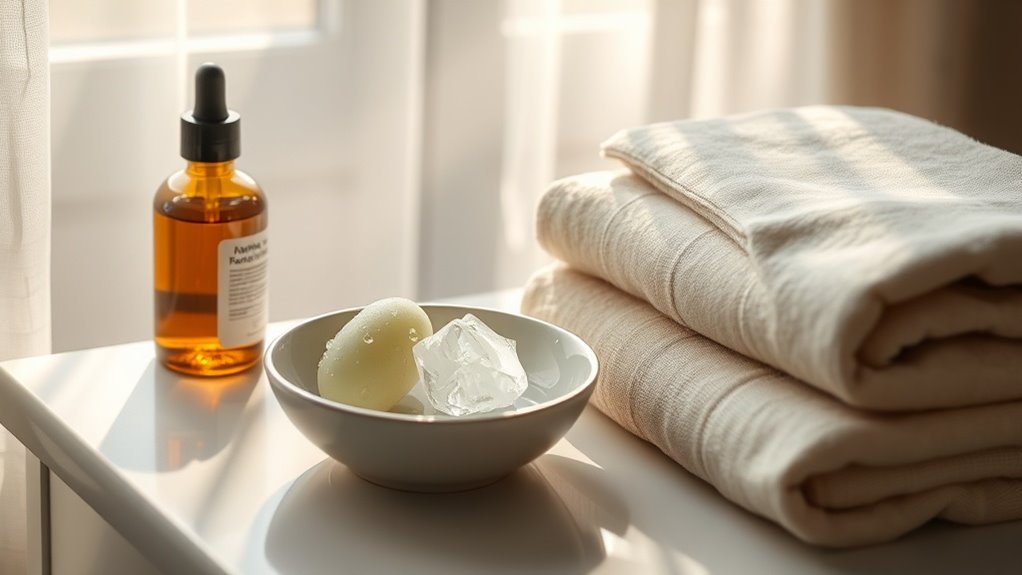
Storing Your DIY Toner
To fully enjoy the numerous benefits of your DIY toner, proper storage is key.
Keep your toner in a clean, dark glass bottle to shield it from light, which can degrade its ingredients.
Store it in a cool, dry place, away from direct sunlight or heat sources.
This will help maintain its potency and effectiveness.
Remember to label your bottle with the date you made it, ensuring you use it within a month for peak freshness.
A quick shake before each use will also help mix any settled ingredients, ensuring your skin gets the full calming effects it deserves. Additionally, consider incorporating natural antibacterial properties from ingredients like baking soda to further enhance your toner’s efficacy.