Erase Wrinkles Instantly. This DIY Mask Works Wonders!
If you’re looking for a quick and effective way to tackle wrinkles, this DIY mask might be just what you need. By harnessing the power of natural ingredients, you can rejuvenate your skin right at home. It’s not just about looking younger; it’s about feeling confident in your own skin. Curious about how these simple components can transform your complexion? Let’s explore the ingredients that make this mask so effective.
Understanding the Ingredients That Fight Wrinkles
When you’re looking to combat wrinkles, understanding the right ingredients is crucial. You want to feel confident in your skin, and knowing what works can make a difference. Key ingredients like hyaluronic acid, which hydrates and plumps your skin, are essential.
Antioxidants, such as vitamin C, help protect against environmental damage while brightening your complexion. Don’t forget about natural oils like coconut or jojoba; they nourish and promote elasticity.
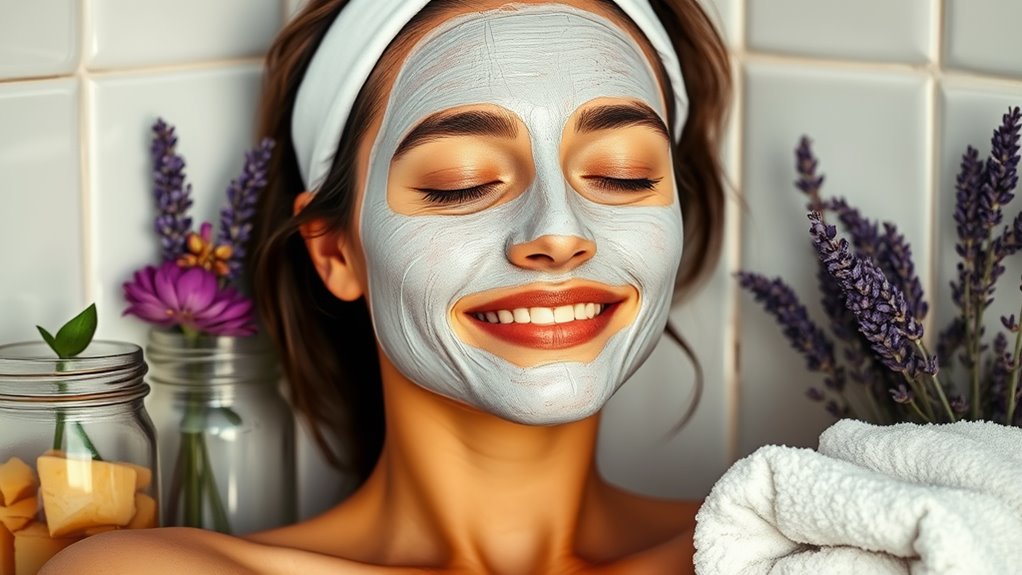
When you create a natural wrinkle-fighting face mask, consider adding ingredients like honey for its soothing properties and aloe vera for its healing benefits.
These components not only tackle wrinkles but also enhance your skin’s overall health. Embracing this knowledge allows you to craft a mask that resonates with your needs and nurtures your skin, making you feel part of a community that values self-care and empowerment.
You’re not just masking wrinkles; you’re celebrating your beauty!
Step-by-Step Guide to Creating Your DIY Mask
Creating your DIY mask is a fun and rewarding process that can elevate your skincare routine.
You’ll love how easy it’s to whip up a mask that feels like a spa treatment at home. Follow these simple steps to create your own wrinkle-fighting mask:
-
Gather your ingredients: Choose natural components like honey, yogurt, and avocado for their skin-loving properties.
-
Mix it up: In a bowl, combine a tablespoon of each ingredient until you achieve a smooth consistency.
-
Apply: Use clean fingers or a brush to spread the mixture evenly over your face, avoiding the eye area.
-
Relax and rinse: Let the mask sit for 15-20 minutes before rinsing it off with warm water.
You’ll feel refreshed and rejuvenated!
Enjoy this time for self-care, and share your results with friends who might want to join in on the fun!
How Each Component Works to Reduce Wrinkles
Each ingredient in your DIY mask plays a crucial role in combating wrinkles and enhancing your skin’s appearance. For instance, honey acts as a natural humectant, drawing moisture into your skin and keeping it hydrated, which helps plump up those fine lines.
Next, yogurt is rich in lactic acid; it gently exfoliates, removing dead skin cells and promoting cell turnover for a fresh, youthful glow.
You’ll also find that avocado oil is packed with antioxidants and essential fatty acids, nourishing your skin deeply and improving elasticity. Meanwhile, vitamin E plays a vital role in protecting your skin from free radicals, promoting healing and reducing signs of aging.
Lastly, adding a splash of lemon juice brightens your complexion and tightens skin, thanks to its natural astringent properties. Together, these ingredients create a powerful blend that not only reduces wrinkles but also fosters a sense of community in your skincare routine.
Application Instructions for Maximum Effectiveness
To achieve the best results from your DIY mask, start with a clean face, as this ensures that the ingredients can penetrate your skin effectively.
Here’s how to apply your mask for maximum benefits:
-
Prep Your Skin: Gently cleanse your face with a mild cleanser to remove any dirt and oil. Pat dry with a soft towel.
-
Apply the Mask: Use clean fingers or a brush to evenly spread the mask over your face, avoiding the eye area.
-
Relax: Allow the mask to sit for 15-20 minutes. This is your time to unwind—maybe put on some soothing music!
-
Rinse Thoroughly: After the time is up, rinse your face with lukewarm water. Follow up with a moisturizer to lock in hydration.
Embrace this self-care ritual, and you’ll feel and look rejuvenated.
You deserve this moment of pampering!
Recommended Usage Frequency for Best Results
Maintaining a consistent routine is key to maximizing the benefits of your DIY mask for wrinkles. To see the best results, try using the mask two to three times a week. This frequency allows your skin to absorb the nutrients without overwhelming it.
After a few weeks, you’ll likely notice firmer, more radiant skin, and you might even feel a sense of accomplishment as you embrace your natural beauty.
Make sure to listen to your skin. If it feels sensitive or irritated, consider reducing the frequency to once a week. Remember, everyone’s skin is unique, and finding the right balance is essential.
Join others in your skincare journey by sharing your experiences and tips. You’re not alone in wanting to look and feel your best.
With dedication and care, you can achieve the smooth, youthful skin you desire, and it’ll be worth every moment you invest in yourself.
Frequently Asked Questions
Can I Use This Mask on Sensitive Skin?
You can use the mask on sensitive skin, but it’s best to do a patch test first. If irritation occurs, don’t worry; there are plenty of gentle alternatives that’ll suit your skin beautifully.
How Long Will the Effects of the Mask Last?
The effects of the mask typically last a few hours to a day, depending on your skin type and lifestyle. For longer-lasting results, consider incorporating it into your routine a couple of times a week.
Is This Mask Safe for All Skin Types?
This mask’s ingredients are generally safe for most skin types, but it’s always best to do a patch test first. You want to ensure it suits your skin and won’t cause any irritation.
Can I Store the Leftover Mask for Later Use?
You can store the leftover mask in an airtight container in the fridge for up to a week. Just make sure to give it a good stir before using it again for the best results.
Are There Any Side Effects From Using This Mask?
Using the mask could cause irritation, redness, or an allergic reaction, especially if you have sensitive skin. Always patch-test a small area first to ensure it suits your skin type and won’t cause discomfort.