Step-by-Step Toner Preparation
Now that you’ve gathered your key ingredients, it’s time to prepare your DIY toner.
You’ll find the mixing instructions straightforward, making this process both quick and enjoyable.
Plus, knowing how to store your toner properly will help you maximize its shelf life, ensuring you get the most out of your creation. Additionally, incorporating quick remedies using household ingredients can enhance the soothing effects of your toner.
Essential Ingredients Needed
To craft an effective DIY toner for redness, you’ll need a few essential ingredients that work harmoniously to soothe and balance your skin.
Gather these items:
- Aloe Vera Gel – Known for its calming properties, it hydrates and reduces irritation.
- Green Tea – Packed with antioxidants, this helps combat inflammation and redness.
- Witch Hazel – A natural astringent that tightens pores and controls oil without over-drying.
- Lavender Essential Oil – Its soothing scent and anti-inflammatory benefits promote relaxation and skin healing.
With these ingredients on hand, you’re well on your way to creating a toner that calms and refreshes!
Mixing Instructions Simplified
Mixing your DIY toner is a straightforward process that takes just a few minutes.
Start by gathering your essential ingredients, like witch hazel and green tea.
In a clean bowl, combine one part witch hazel with two parts brewed green tea.
Stir gently to blend the ingredients.
If you’d like, add a few drops of essential oil for a soothing scent.
Next, use a funnel to pour the mixture into a clean spray bottle or jar.
Shake well before each use to make sure everything’s mixed.
Now, you’re ready to apply your calming toner and enjoy its redness-reducing benefits!
Storage and Shelf Life
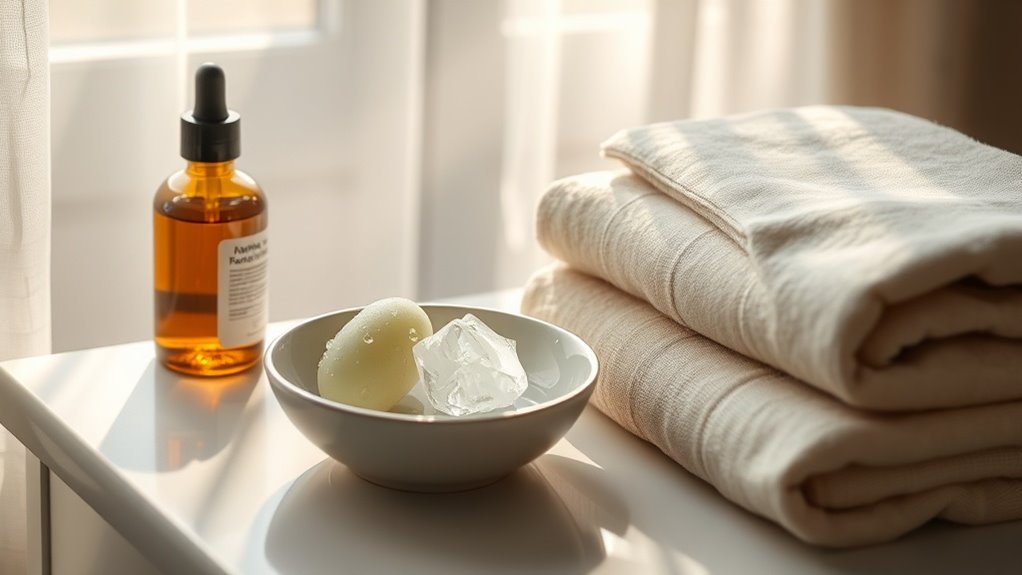
Proper storage is essential for maintaining the efficacy of your DIY toner and ensuring it remains safe for use. Follow these tips to keep your toner fresh:
- Use a dark glass bottle – Protects against light, which can degrade ingredients.
- Store in a cool, dry place – Heat and humidity can alter its effectiveness.
- Label with the date – Keep track of freshness and avoid using expired products.
- Refrigerate for longer shelf life – Cooling can extend the toner’s usability, especially if it contains natural ingredients.
With proper care, you’ll enjoy your calming toner for weeks to come!
Application Tips for Best Results
To get the most out of your DIY toner, prepping your skin is essential.
Start with a clean face to make sure that the toner can penetrate effectively and work its magic.
Once applied, using gentle techniques will enhance absorption and provide soothing relief to redness. Additionally, incorporating cool compresses can offer immediate comfort while using the toner.