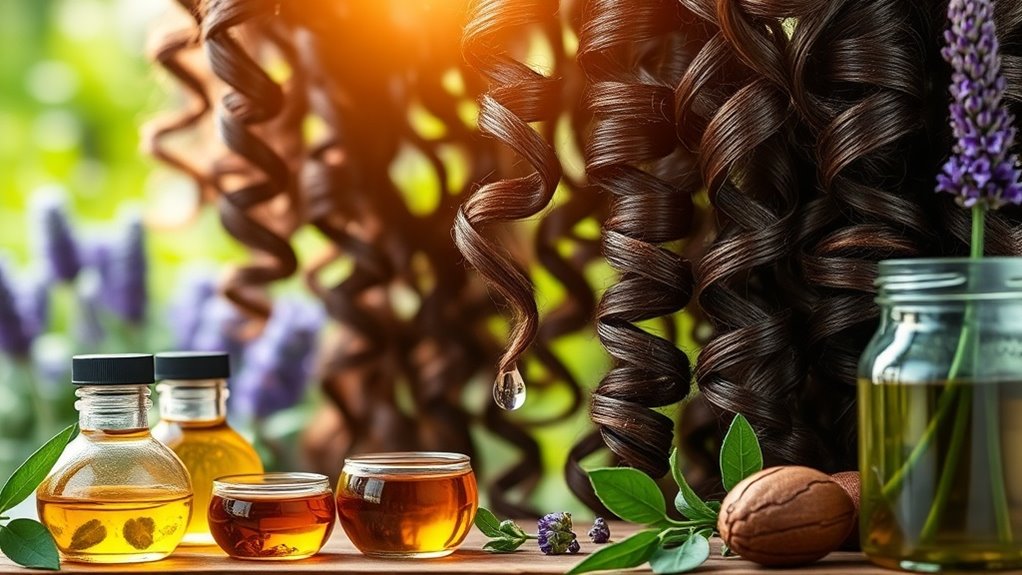
In summer’s humidity, swap heavier oils for lighter ones like coconut or aloe vera to combat frizz without weighing curls down.
Winter’s dry air demands extra hydration, so amp up with honey or shea butter for that moisture boost.
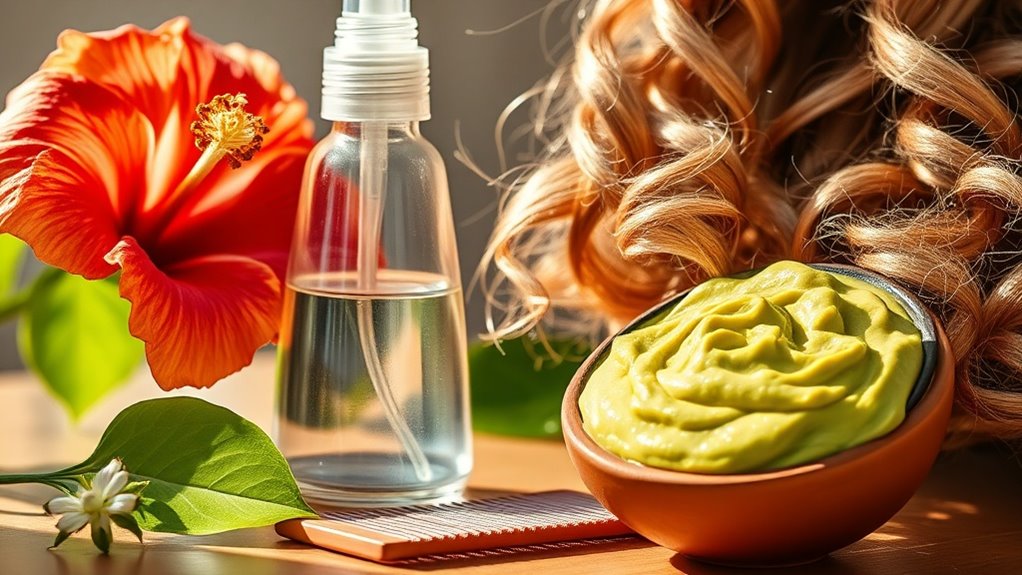
Spring’s pollen might call for soothing chamomile, easing irritation while maintaining curl definition.
Fall’s crisp winds? Reinforce with avocado for protection against breakage.
Experiment joyfully—these tweaks ensure your locks stay vibrant year-round, transforming your routine into a seasonal adventure!
Texture Modifications
How do you tweak your DIY hair mask to match your hair’s unique texture?
It’s simple and fun—adjust ingredients based on whether your strands are fine, thick, or curly to get amazing results.
Experimenting keeps things fresh and effective!
- For fine hair: Lighten the mix with less oil and more lightweight hydrators like aloe vera to add volume without greasiness.
- For thick hair: Boost moisture with extra shea butter and oils to deeply nourish and reduce frizz for smoother locks.
- For curly hair: Amp up curl-friendly elements like honey or yogurt to enhance definition, bounce, and that enviable shine you crave.
Common Errors to Sidestep
When you’re whipping up a DIY hair mask, it’s easy to make a few missteps that could leave your locks less than luscious—let’s explore the key errors to dodge for the best results.
One big no-no is using expired ingredients; they lose potency and might irritate your scalp.
Don’t skimp on measuring accurately—too much oil can make hair greasy, while too little leaves it dry.
Always stir thoroughly to avoid uneven mixtures that won’t coat curls properly.
Skip the patch test at your peril; it prevents allergic reactions.
And hey, apply to clean hair for maximum absorption—your frizz will vanish!
Maintaining Healthy Curls
Maintaining healthy curls starts with simple, daily habits that keep your locks bouncy and strong, so let’s explore how regular care amplifies the benefits of your DIY mask.
You’ll love how these routines prevent dryness and frizz, making your curls thrive.
- Gently cleanse weekly: Use sulfate-free shampoo to preserve natural oils, keeping curls hydrated and defined.
- Deep condition regularly: Apply your DIY mask post-wash to lock in moisture and reduce breakage for vibrant results.
- Protect from elements: Shield hair from heat and sun with a silk scarf or spray, ensuring long-lasting bounce.
Embrace these steps, and you’ll see your curls flourish!
For even better results, incorporate coconut oil into your routine to leverage its deep conditioning properties and minimize protein loss.
Real User Experiences
While users have shared transformative stories about this DIY hair mask, you’ll discover how it’s revived curls, reduced frizz, and boosted shine in everyday routines.
From busy professionals to everyday curl lovers, many report softer, more manageable hair after just a few uses.
One user raved about taming stubborn frizz during humid weather, while another noticed enhanced hydration that eliminated dryness and added bounce.
You’ll find testimonials highlighting stronger strands, less breakage, and a vibrant glow that lasts.
It’s easy to whip up and apply, fitting into your weekly routine effortlessly.
Users have also noted that incorporating essential oils into the mask can enhance scalp health and overall hair vitality, drawing from proven natural remedies.
Dive in and experience the magic for yourself!