- Intense Hydration: Locks in moisture to banish dryness, making your curls feel plush and revitalized.
- Frizz Control: Smooths out flyaways, giving you sleek, defined texture without weighing hair down.
- Enhanced Resilience: Strengthens strands, reducing breakage for healthier, bouncier results that boost your confidence.
My Personal Hair Transformation
You’ve likely faced initial hair issues like dryness and frizz that made your locks feel unmanageable, just as I did.
Now, let’s walk you through the straightforward steps to apply this DIY hair mask and see how it works its magic.
You’ll love the post-transformation changes, from smoother strands to a vibrant shine that boosts your confidence!
To enhance the results, this mask draws from the science of frizz, where hair cuticle lifting is a key factor in maintaining smooth, balanced hair.
Initial Hair Issues
How often have you wrestled with dull, brittle hair that just won’t cooperate?
If you’re like me, dealing with dry, frizzy curls can feel like a daily battle, leaving you frustrated and longing for change.
Let’s break down those pesky issues that make hair management a chore:
- Dry strands: Your hair feels parched and rough, sucking up moisture faster than you can apply it.
- Frizzy chaos: Curls turn into a wild, unmanageable mess, especially in humidity, defying your best efforts.
- Brittle breakage: Every brush stroke leads to snaps and splits, robbing your locks of vitality.
Don’t let these hurdles hold you back—transformation is within reach!
Mask Application Steps
Ready to banish those dry, frizzy strands for good? Let’s dive into the simple steps that’ll transform your curls!
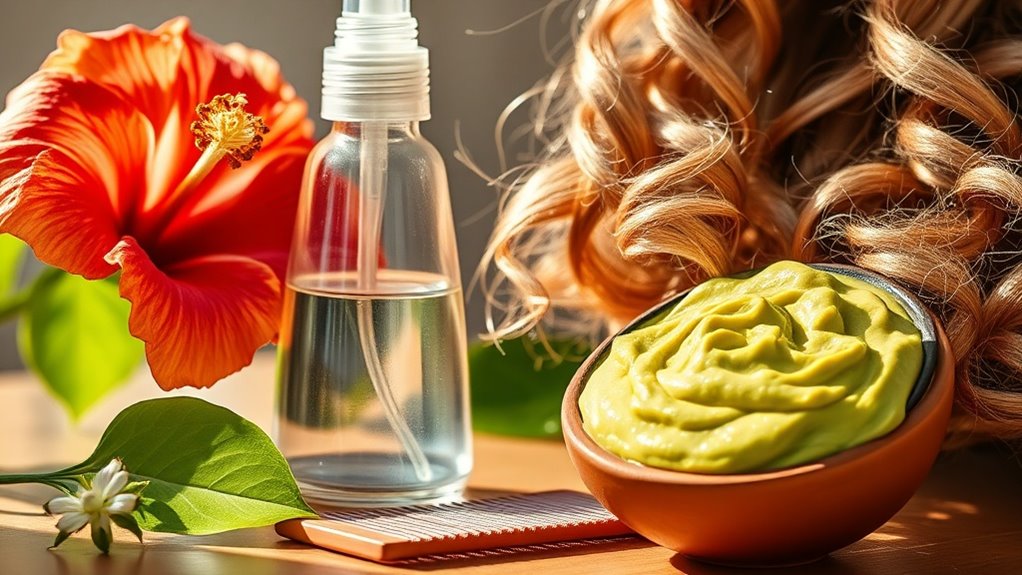
First, gather ingredients like honey for moisture, coconut oil to tame frizz, and mashed avocado for nourishment. Mix them in a bowl until creamy.
Dampen your hair, then section it for easy application. Generously apply the mask from roots to tips, massaging gently to coat every strand.
Cover with a shower cap and let it sit for 30 minutes. Finally, rinse thoroughly with lukewarm water—your hair’s revival starts here!
Post-Transformation Changes
After slathering on that DIY hair mask and rinsing it off, you’ll notice an instant glow-up in your locks.
Your hair feels softer, frizz vanishes, and curls bounce with vitality, transforming your daily routine into a joy.
Here are the exciting changes you’ll love:
- Silky Softness: Your strands absorb moisture, leaving them plush and touchable, banishing dryness for good.
- Frizz-Free Flow: That pesky frizz melts away, giving you smooth, defined curls that hold up all day.
- Vibrant Bounce: Curls gain definition and shine, making your hair look healthier and full of life.
Tips for Best Application Results
To get the most from your DIY hair mask, start by sectioning your hair evenly so you can apply it thoroughly and evenly. Use your fingers to massage the mixture from roots to tips, ensuring every strand gets coated for maximum hydration.
Don’t rush—work in small sections to avoid missing spots, and cover your hair with a shower cap to lock in moisture and heat.
Apply on damp hair for better absorption, and set a timer for 20-30 minutes to let it work its magic.
You’ll notice smoother, frizz-free curls that bounce back with vitality! Rinse with cool water to seal the deal and reveal your transformed locks. For enhanced frizz control, consider incorporating coconut oil to hydrate and seal your hair effectively.
Variations to Try at Home
Once you’ve mastered the basic DIY hair mask, you’re in for some exciting twists with ingredient swaps that let you customize based on what you have in your kitchen.
You’ll love seasonal adaptations that incorporate fresh, in-season ingredients to boost your hair’s health all year round.
Don’t forget texture modifications to tailor the mask’s consistency, making it easier to apply and perfectly suited to your hair type!
To enhance your hair care routine even more, consider blending in essential oils from a simple DIY hair oil for added nourishment and growth benefits.
Ingredient Swaps
Ever wondered how to tweak your DIY hair mask by swapping ingredients for a personalized touch?
It’s a fun way to customize your routine and tackle those stubborn frizzies even better!
Don’t be afraid to experiment with these swaps to suit your hair’s needs.
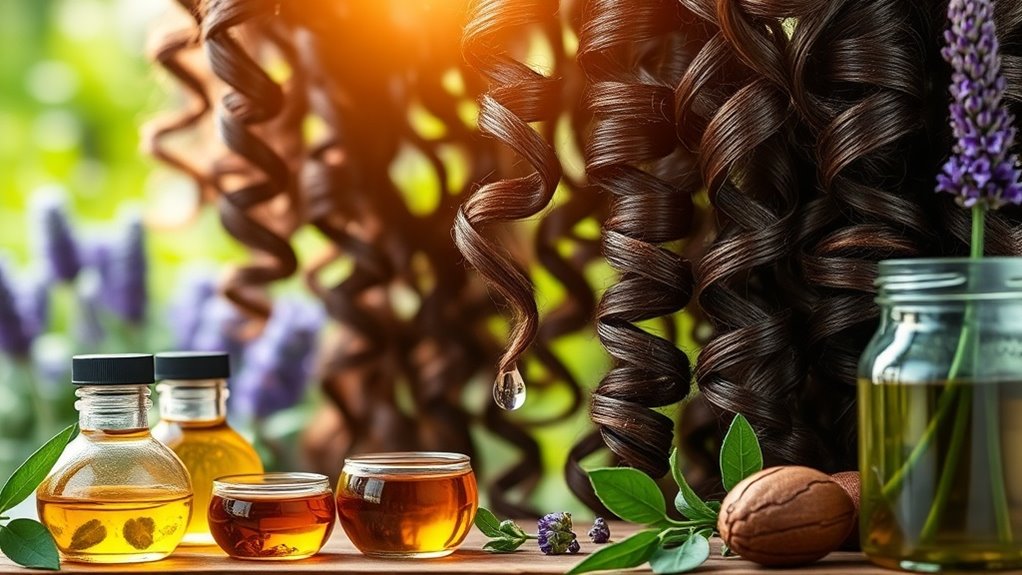
- Swap oils: Use argan oil instead of coconut for lighter moisture that won’t weigh down your curls.
- Fruit alternatives: Replace avocado with mashed banana for added slip and hydration without the heaviness.
- Binding agents: Opt for honey over yogurt to lock in shine and combat dryness more effectively.
Get creative, and watch your hair thrive!
Seasonal Adaptations
As seasons change, you tailor your DIY hair mask to handle weather shifts and keep your hair thriving.