Skin Discoloration. This DIY Mask Will Change Your Face!
Skin discoloration can be a common concern, affecting your confidence and overall appearance. Dark spots and uneven tones might leave you feeling less than your best. Fortunately, there’s a simple DIY mask that can help transform your complexion. Combining natural ingredients can yield impressive results. Curious about what goes into this mask and how it can benefit your skin? Let’s explore the essential elements and steps involved.
Understanding Skin Discoloration
Skin discoloration can be frustrating, and understanding its causes is key to finding effective solutions. You may notice dark spots, uneven tones, or redness that make you feel self-conscious. These issues often stem from factors like sun exposure, hormonal changes, or even stress.
Recognizing these triggers helps you take charge of your skin’s health.
A natural skin brightening remedy can be a great way to address discoloration while fostering a sense of community around shared experiences. Many people find that using ingredients like honey, lemon, or aloe vera can gently lighten dark spots and improve overall tone.
You don’t have to navigate this journey alone; connecting with others who understand your struggle can provide support and encouragement.
Key Ingredients for Your DIY Mask
When crafting your DIY mask, it’s essential to choose the right ingredients that can effectively target skin discoloration. Start with turmeric; its anti-inflammatory properties can help brighten your skin and even out your tone.
Next, consider honey, a natural humectant that hydrates while also possessing antibacterial qualities—perfect for fighting any blemishes. You might also want to add lemon juice, rich in vitamin C, which can help lighten dark spots and promote a radiant complexion.
Don’t forget about aloe vera; it soothes irritation and helps with overall skin health.
Lastly, oats can gently exfoliate, removing dead skin cells and revealing a fresher layer underneath.
Step-by-Step Instructions to Create the Mask
Creating your DIY mask is a straightforward process that takes just a few simple steps. First, gather all your key ingredients—like honey, yogurt, and lemon juice—so you’re ready to go.
In a clean bowl, mix two tablespoons of yogurt with one tablespoon of honey for hydration. Next, add a few drops of lemon juice, which helps brighten your skin. Stir the mixture until it’s smooth and well-blended.
Once you’ve got your mask ready, take a moment to enjoy the process. This isn’t just about skin; it’s about self-care and connecting with yourself. You’ll feel that sense of belonging to a community that values natural beauty.
Finally, transfer your mask into a clean container for easy use later. Now, you’re all set to tackle skin discoloration with your homemade remedy! Isn’t it empowering to create something so beneficial for yourself?
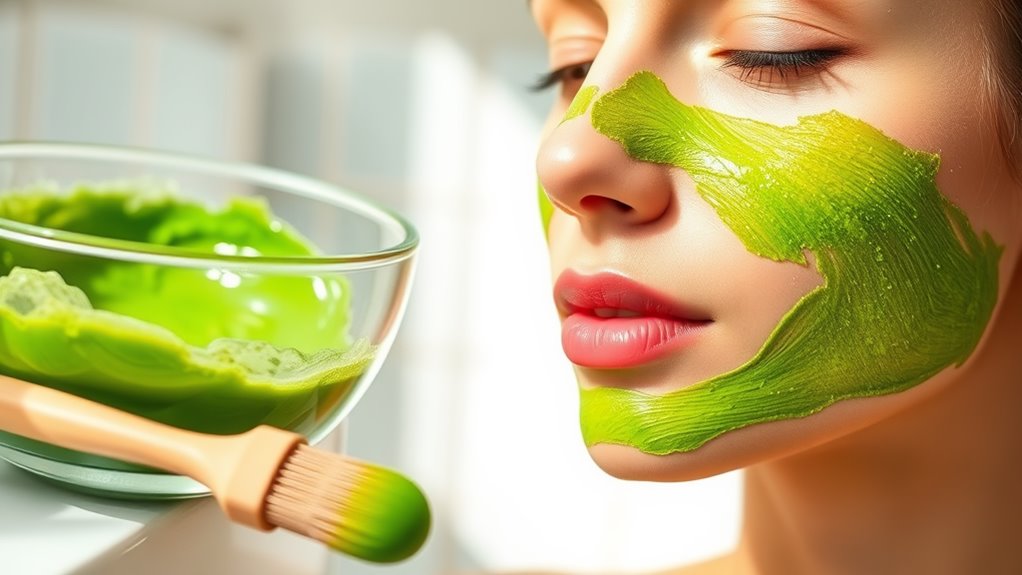
How to Apply the Mask Effectively
To apply the mask effectively, start by cleansing your face to remove any dirt or makeup, ensuring your skin is primed for maximum absorption.
Once your skin’s clean, gently pat it dry with a soft towel—no harsh rubbing! Now, scoop out a generous amount of the mask and use your fingertips or a clean brush to apply it evenly across your face.
Focus on areas with discoloration but avoid your eyes and mouth. Take a moment to enjoy the texture and scent—it’s your time to unwind!
Let the mask sit for the recommended time, usually around 15-20 minutes. This is the perfect opportunity to relax and maybe even listen to your favorite playlist.
When the time’s up, rinse off the mask with lukewarm water, gently massaging your skin. Pat your face dry again, and feel that fresh glow! You’re one step closer to achieving that radiant complexion.
Tips for Maintaining a Bright Complexion
After enjoying the benefits of your DIY mask, maintaining that bright complexion is key.
Start with a daily skincare routine that includes a gentle cleanser to remove impurities without stripping your skin’s natural oils. Don’t forget to apply a lightweight moisturizer to keep your skin hydrated and radiant.
Sunscreen is your best friend—apply it every day, even when it’s cloudy! UV rays can dull your glow and cause discoloration.
Incorporate antioxidant-rich products, like vitamin C serums, to help brighten your skin and protect against environmental stressors.
Stay hydrated by drinking plenty of water and eat a balanced diet filled with fruits and vegetables. They’re packed with nutrients that support healthy skin.
Lastly, get enough sleep and manage stress, as both can impact your complexion.
With these tips, you’ll feel confident in your skin and enjoy that luminous look every day!
Frequently Asked Questions
Can Skin Discoloration Be a Sign of a Serious Medical Condition?
Absolutely, skin changes can signal underlying health issues. If you notice unusual discoloration, it’s best to consult a healthcare professional. They’ll help you get to the root cause and ensure your well-being.
How Long Until I See Results From the DIY Mask?
You’ll likely see results from the DIY mask within a week. Consistent use boosts effectiveness, so keep applying it regularly. Enjoy the process, and soon you’ll notice a brighter, refreshed appearance that you’ll love!
Is This Mask Suitable for All Skin Types?
This mask isn’t one-size-fits-all. While many love its effects, your skin type matters. You should test a small area first to see how your skin reacts before applying it more widely. Enjoy the journey!
Can I Use This Mask Daily?
You can use this mask daily, but it’s best to listen to your skin. If you notice irritation or sensitivity, scale back to a few times a week. Your skin deserves gentle care!
What Should I Do if I Experience an Allergic Reaction?
If you experience an allergic reaction, stop using the product immediately. Rinse the area with cool water, apply a soothing cream, and consult a healthcare professional if symptoms persist. Your comfort and safety matter most!