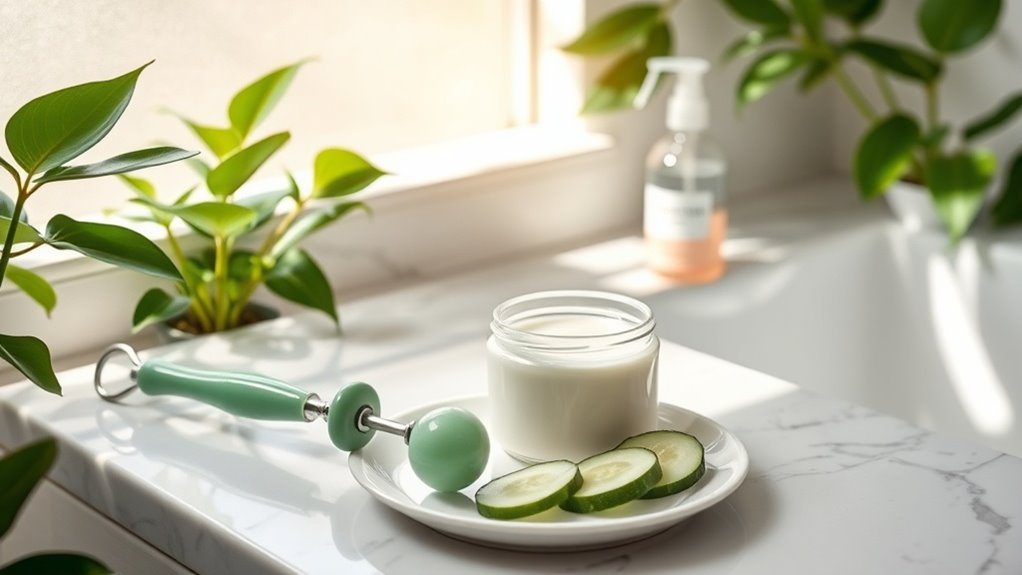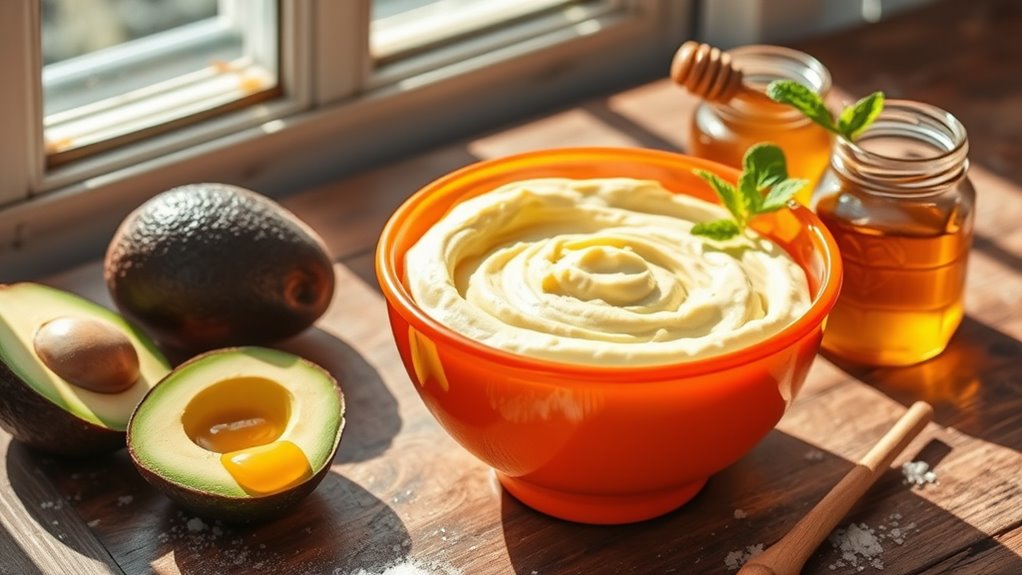
- Mixing bowl – For combining your ingredients.
- Application brush – To evenly spread the mask on your face.
- Clean towel – To wipe off any excess product.
- Timer – To keep track of the application time.
Once you’ve set everything up, cleanse your face thoroughly to remove any dirt or makeup.
Using the application brush, gently apply the mask, focusing on areas prone to wrinkles. Set your timer for the recommended duration, allowing the mask to work its magic.
After the time’s up, use the clean towel to rinse off the mask with warm water. Pat your face dry, and enjoy the feeling of refreshed, rejuvenated skin.
You’ve just taken a step towards embracing your natural beauty!
Benefits of Natural Ingredients vs. Commercial Products
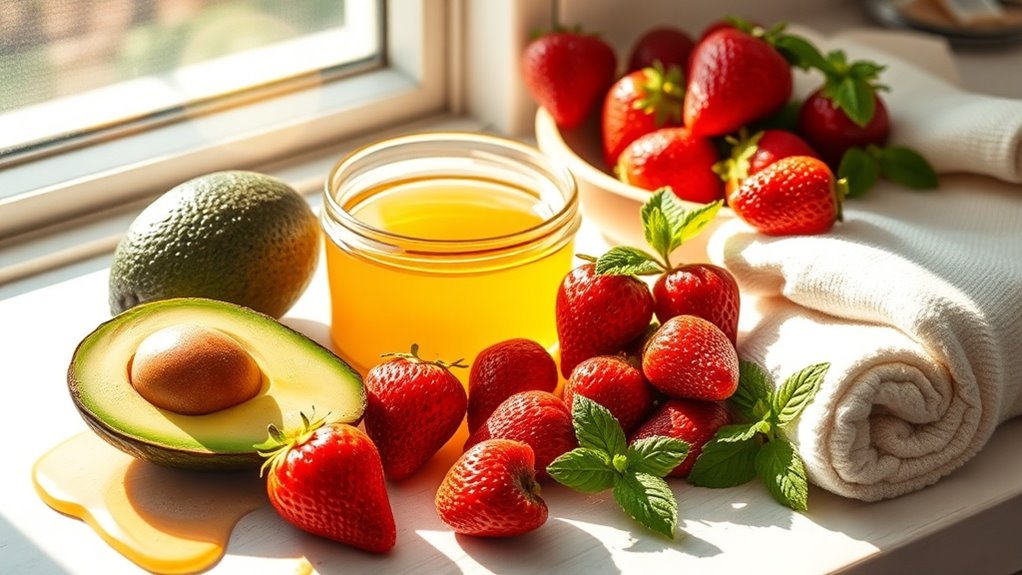
Using a DIY wrinkle mask means you’re often opting for natural ingredients, which can provide numerous benefits over commercial products. First off, natural ingredients are gentler on your skin. You won’t have to worry about harsh chemicals that can irritate or cause reactions. Instead, you’re using nourishing elements that your skin recognizes and loves.
Moreover, DIY masks let you customize what you put on your face. You can choose ingredients that suit your specific skin type, whether it’s dry, oily, or sensitive. This personal touch fosters a sense of belonging to a community that values self-care and natural beauty.
Plus, you’re saving money while embracing a more sustainable lifestyle. By ditching those pricey commercial creams, you’re joining a movement that prioritizes health and nature.