Using clean fingers or a cotton swab, apply a small amount directly on the affected areas.
Allow it to sit for 10-15 minutes before rinsing off.
Repeat this process daily for best results.
Application Techniques for Optimal Results
To achieve the best results with your DIY remedy, you’ll want to focus on how you apply your ingredients.
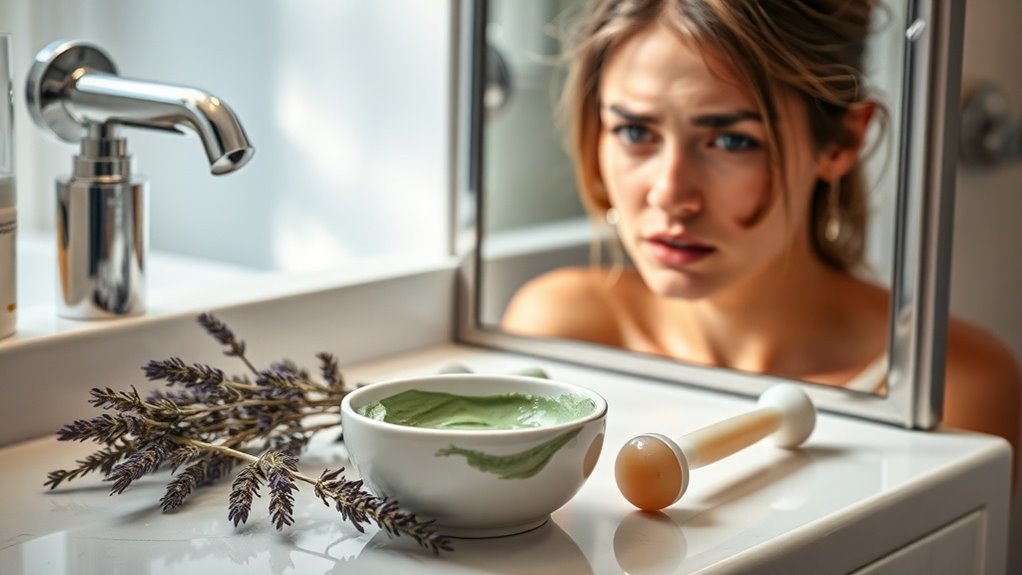
Start with targeted spot application to ensure you’re treating the breakouts directly. Additionally, pay attention to timing and duration for maximum effectiveness. Proper skin cleansing helps prepare the skin for treatment and enhances the effectiveness of your remedy.
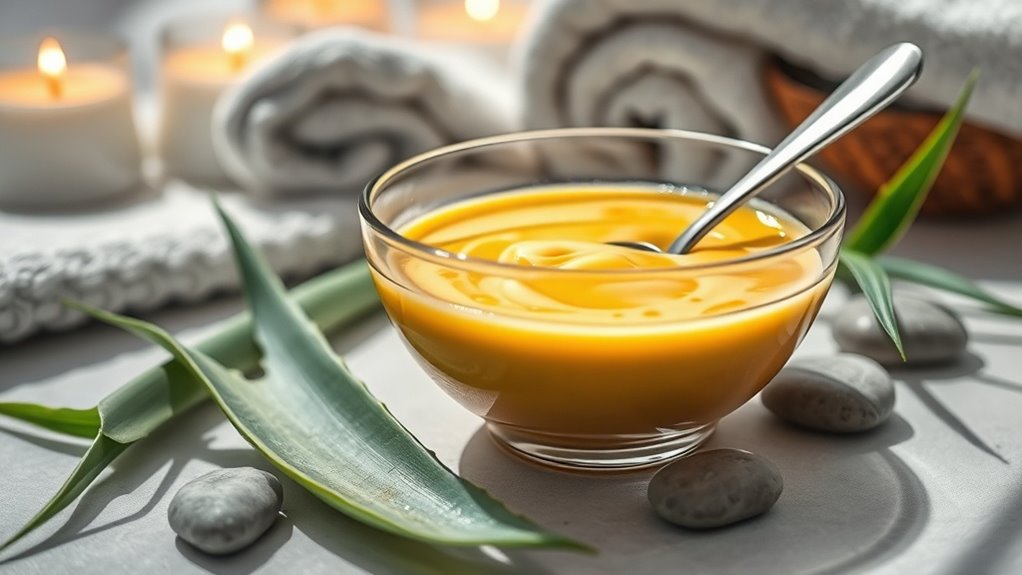
Preparation of Ingredients
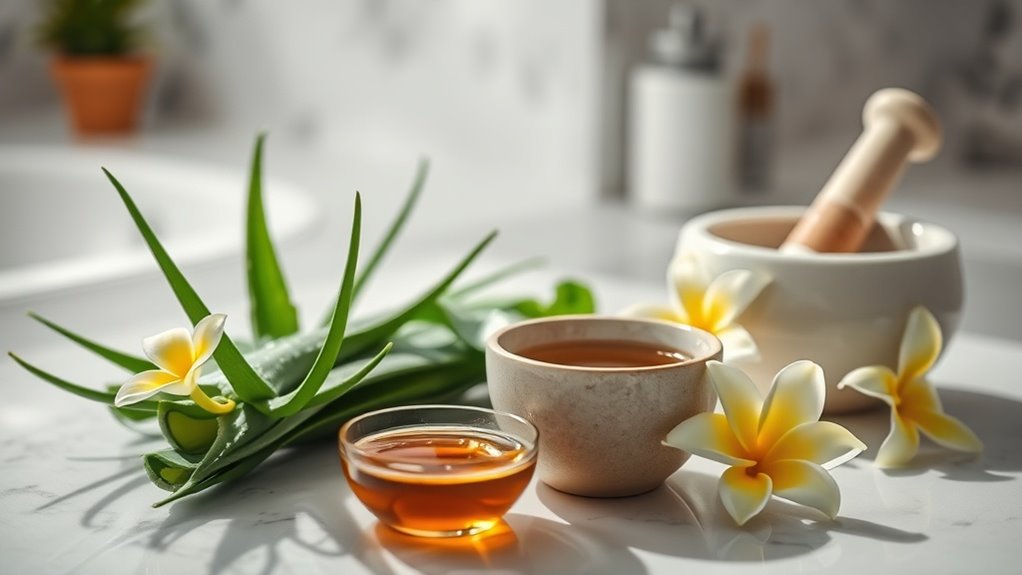
When preparing ingredients for your DIY breakout remedy, it’s essential to ensure that each component is fresh and properly measured for optimal effectiveness. Follow these guidelines for the best results:
| Ingredient | Measurement | Freshness Check |
|---|---|---|
| Tea Tree Oil | 5 drops | Check expiration date |
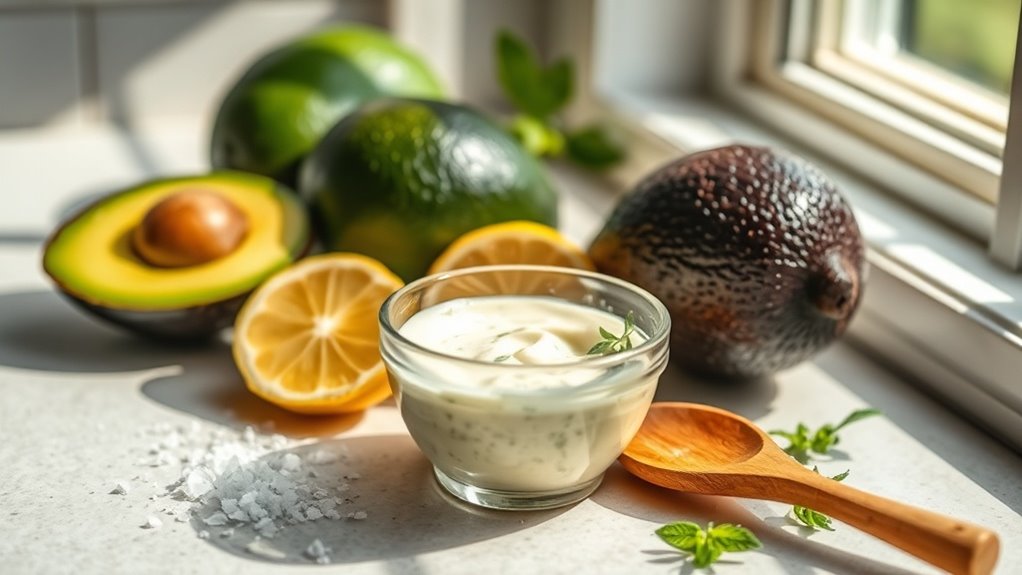
| Aloe Vera Gel | 1 tablespoon | Use fresh leaves if possible |
| Honey | 1 teaspoon | Look for raw honey |
Targeted Spot Application
As you apply your DIY breakout remedy, targeting specific spots can significantly enhance the treatment’s effectiveness.
To maximize results, try these application techniques:
- Use a clean cotton swab for precision.
- Apply the remedy directly to the affected area.
- Ensure skin is dry before application.
- Avoid massaging the area.
- Let the remedy absorb fully before additional products.
These steps can help improve your outcome.
Timing and Duration
Timing plays a crucial role in the effectiveness of your DIY breakout remedy, especially regarding how long you leave it on your skin.
For optimal results, apply the remedy for at least 15 minutes, but not exceed two hours.