Replacing a shower cartridge can seem like a daunting task, but with the right tools and guidance, it can be a straightforward DIY project. Understanding the components of your shower system and following a structured approach can save you time and money by preventing the need for a professional plumber. This guide will walk you through the process step-by-step, ensuring you can tackle this home improvement task confidently.
What is a Shower Cartridge?

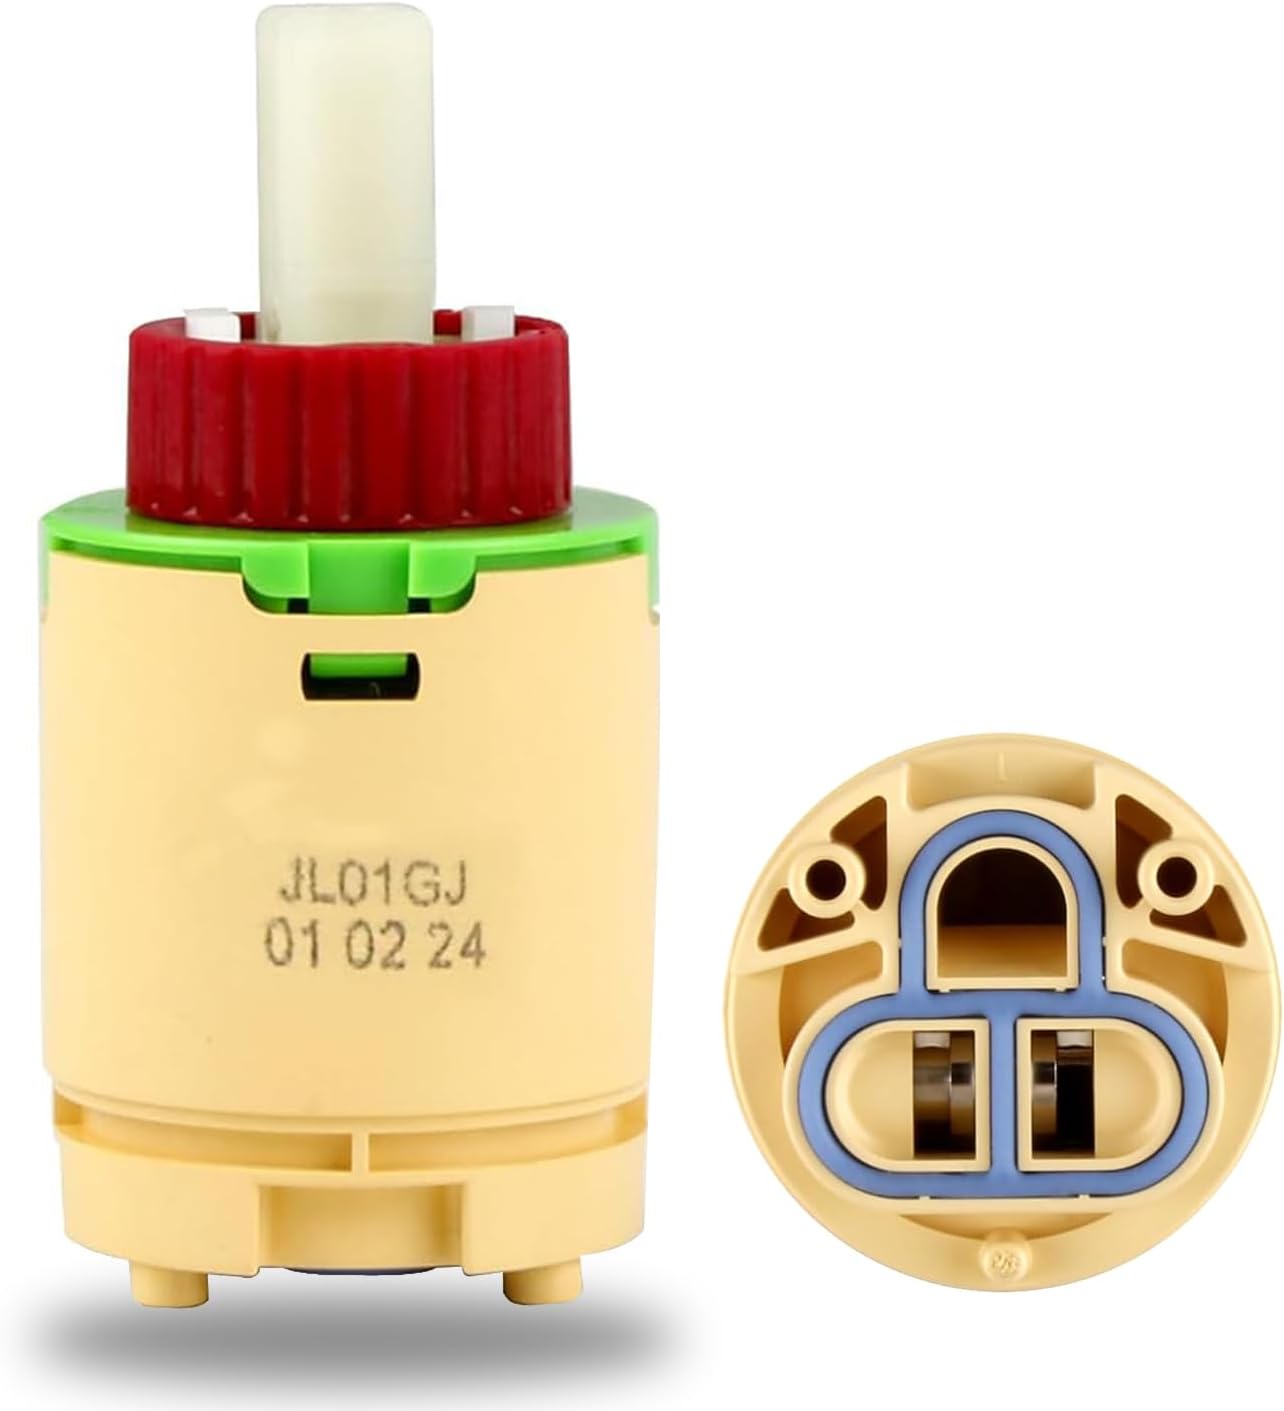
A shower cartridge is a crucial component of your shower system that controls the flow and temperature of water. It contains valves that regulate the hot and cold water mix, allowing you to adjust the temperature to your preference. Over time, cartridges can wear out due to mineral buildup, corrosion, and general wear and tear, leading to leaks or inconsistent water temperature.
Signs That Your Shower Cartridge Needs Replacement
Before diving into the replacement process, it’s essential to recognize the signs that indicate your shower cartridge may need replacement. Here are some common indicators:
- Persistent leaks from the showerhead or faucet.
- Inability to adjust water temperature effectively.
- Water pressure fluctuations during use.
- Unusual noises coming from the faucet.
- Visible mineral buildup or corrosion around the faucet area.
Tools You Will Need
Having the right tools on hand will make the process smoother. Here’s a list of tools you’ll need:
- Adjustable wrench
- Screwdriver (flathead and Phillips)
- Pliers
- Towel or rag
- Replacement cartridge
- Plumber’s grease
- Bucket (optional, for catching water)
Step-by-Step Guide to Replacing Your Shower Cartridge

Step 1: Turn Off the Water Supply

Before starting any plumbing project, ensure that the water supply to your shower is turned off. Locate the shut-off valves, typically found in the basement or behind an access panel, and turn them clockwise to shut off the water flow.
Step 2: Drain the Shower
Open the shower faucet to allow any remaining water to drain out. This step is crucial to prevent water from spilling during the replacement process.
Step 3: Remove the Handle
Depending on your shower model, the handle may be secured with a screw or a decorative cap. Use a screwdriver to remove the handle by following these steps:
- Check for a set screw, usually located underneath or behind the handle.
- If there’s a decorative cap, gently pry it off with a flathead screwdriver.
- Unscrew the handle and pull it off.
Step 4: Take Off the Trim Plate
Once the handle is removed, you may see a trim plate that covers the cartridge. Use your screwdriver to remove any screws securing it, and then carefully pull it away from the wall.
Step 5: Extract the Old Cartridge
With the trim plate removed, you can now access the cartridge. Follow these steps to remove it:
- Look for a retaining clip or nut that holds the cartridge in place.
- Use pliers or an adjustable wrench to loosen and remove it.
- Pull the cartridge straight out; if it’s stuck, gently wiggle it back and forth while pulling.
Step 6: Prepare the New Cartridge
Before installing the new cartridge, it’s essential to prepare it properly:
- Apply plumber’s grease to the O-rings on the new cartridge. This helps ensure a watertight seal and makes installation easier.
- Double-check that the new cartridge matches the old one in size and shape.
Step 7: Install the New Cartridge
Insert the new cartridge into the faucet assembly, ensuring it’s oriented correctly. Follow these steps:
- Push the cartridge in until it fits snugly.
- Reattach the retaining clip or nut to secure the cartridge in place.
Step 8: Reattach the Trim Plate and Handle
Once the new cartridge is in place, it’s time to reassemble the shower:
- Position the trim plate back onto the wall and secure it with screws.
- Slide the handle back onto the cartridge and secure it with the screw or decorative cap.
Step 9: Turn the Water Supply Back On
After everything is reassembled, turn the water supply back on. Check for leaks around the handle and cartridge area. If you notice any leaks, you may need to disassemble and ensure everything is properly tightened and sealed.
Step 10: Test the Shower
Finally, test the shower to make sure the temperature and pressure are functioning correctly. Adjust the handle to check if the water flows as expected, ensuring there are no leaks during operation.
Common Mistakes to Avoid

While replacing a shower cartridge is relatively simple, there are common pitfalls that can lead to frustration or additional repairs. Here are some mistakes to avoid:
- Not turning off the water supply, leading to a messy situation.
- Failing to take the old cartridge to the hardware store, which may result in purchasing the wrong replacement.
- Over-tightening screws or nuts, which can damage the components.
- Neglecting to use plumber’s grease, which can lead to leaks down the road.
Replacing a shower cartridge is a manageable DIY task that can save homeowners both time and money. By understanding the components, following a structured approach, and avoiding common mistakes, you can successfully replace your shower cartridge and restore functionality to your shower. Remember to gather the necessary tools, identify the right replacement part, and take your time during each step of the process. With this guide, you’re well-equipped to tackle this plumbing project confidently, ensuring your shower operates smoothly for years to come.