This DIY Wrinkle Eraser Works Better Than Botox!
If you’re tired of costly treatments and invasive procedures, you might want to explore a DIY wrinkle eraser that rivals Botox. This natural solution is packed with powerful ingredients that can transform your skin without breaking the bank. Curious about how it works and what you’ll need? Let’s uncover the science and get you started on achieving a more youthful appearance.
The Science Behind DIY Wrinkle Erasers
While you might think that erasing wrinkles is just a matter of applying a product, the science behind DIY wrinkle erasers reveals a fascinating interplay of ingredients and skin chemistry.
Understanding how these components work together can empower you to craft your own powerful home wrinkle remedy.
When you mix specific natural ingredients, they target different aspects of skin aging, like hydration, elasticity, and cell regeneration.
For instance, ingredients rich in antioxidants combat free radicals, while those that boost collagen can help plump up your skin.
Ingredients You’ll Need for Your Anti-Aging Treatment
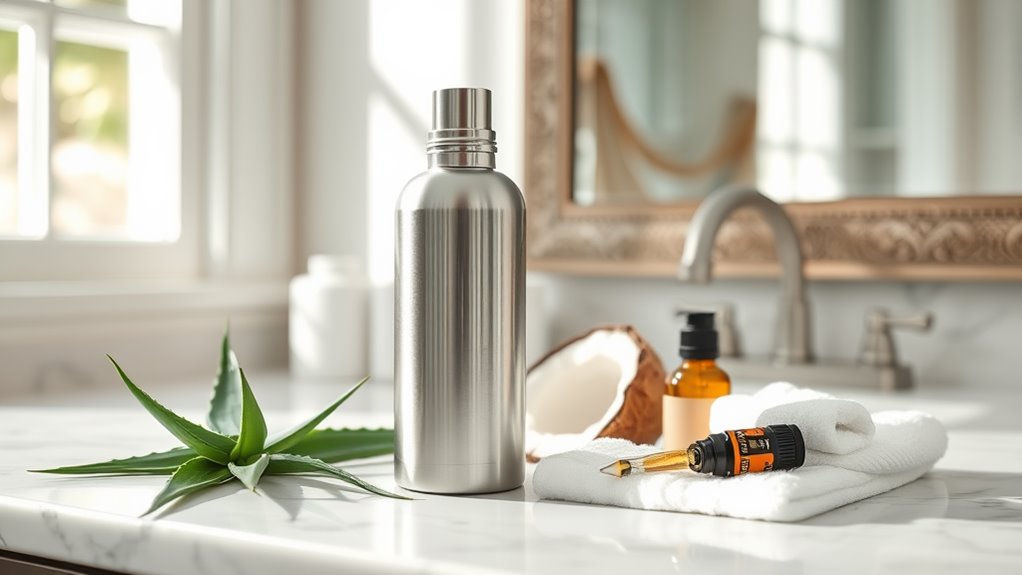
To create an effective anti-aging treatment at home, you’ll need a selection of powerful ingredients that target wrinkles and promote youthful skin.
Start with natural oils like coconut or jojoba oil; they hydrate and nourish your skin. Next, include vitamin E oil, known for its antioxidant properties that help fight free radicals.
Don’t forget essential oils like lavender or frankincense, which can enhance skin elasticity and provide a soothing aroma.
Adding honey won’t only moisturize but also give your treatment antibacterial benefits.
Consider incorporating aloe vera for its soothing and healing properties, making it perfect for sensitive skin.
Lastly, a splash of lemon juice can brighten your complexion, thanks to its vitamin C content.
Step-by-Step Preparation Instructions
Gather your ingredients and get ready to create your DIY wrinkle eraser, as the preparation process is straightforward and quick.
Start by measuring out your chosen oils and combining them in a small bowl. If you’re using a gel or cream base, mix it in slowly, ensuring everything blends smoothly.
Next, add any additional ingredients, like essential oils or vitamins, stirring gently to incorporate them fully.
Once you’ve mixed the ingredients, transfer your concoction into a clean, airtight container. Make sure it’s labeled—after all, you’ll want to remember what’s inside!
Store it in a cool, dark place to maintain its potency.
That’s it! You’ve now crafted a fabulous wrinkle eraser that you can feel proud of.
Enjoy the sense of accomplishment that comes with making your own beauty product, and get ready to share the love with friends who might want to join in on the fun!
Applying the Wrinkle Eraser for Best Results
When you’re ready to apply your DIY wrinkle eraser, ensure your skin is clean and dry for the best results.
Start by using your fingertips to gently apply a small amount of the wrinkle eraser to your problem areas—think forehead lines, crow’s feet, or smile lines. Use a light tapping motion to help the product absorb better, and avoid rubbing it in too harshly.
Remember, less is more! You don’t need to slather it on; just a pea-sized amount will do.
After application, allow it to set for a few minutes before applying any makeup or moisturizer. This gives the wrinkle eraser time to work its magic.
Finally, take note of how your skin feels. If it’s too tight or uncomfortable, you might be using too much. Adjust your application as needed.
Enjoy your smoother skin and the confidence that comes with it; you deserve it!
Real User Testimonials and Success Stories
Many users have experienced impressive results with their DIY wrinkle eraser, sharing their personal journeys to smoother skin.
You’re not alone in wanting to combat those pesky lines. One user, Sarah, raved about how just a few weeks made a noticeable difference. “I felt more confident in my own skin,” she said, highlighting how the product became a part of her daily routine.
Another user, Mike, shared that his friends noted his youthful glow, prompting him to spread the word within his circle. He felt he finally had a solution that worked without breaking the bank.
These stories reflect a community of individuals just like you, eager to embrace their natural beauty. With this DIY wrinkle eraser, you join a movement toward self-care and empowerment, proving that you can achieve remarkable results without resorting to costly treatments.
Why not start your journey today?
Frequently Asked Questions
Can This DIY Wrinkle Eraser Be Used on Sensitive Skin?
Yes, you can use this DIY wrinkle eraser on sensitive skin, but it’s wise to test a small area first. Always listen to your skin and adjust ingredients if irritation occurs. You’ll love the results!
How Long Does the Wrinkle Eraser Last Once Prepared?
Once you prepare the wrinkle eraser, it lasts about a week in the fridge. Just remember to give it a good shake before using it again, and you’ll keep enjoying those benefits for longer!
Are There Any Side Effects From Using This Treatment?
You might experience mild irritation or redness after using this treatment. It’s a good idea to patch test on a small area first, ensuring it suits your skin before applying it more widely.
Can I Mix Different Ingredients for Better Results?
Absolutely, you can mix different ingredients to enhance results! Experimenting with combinations lets you find what works best for your skin. Just remember to test for allergies and start with small amounts for safety. Enjoy the process!
Is This Method Suitable for All Skin Types?
Yes, this method can be suitable for most skin types, but you should always test it on a small area first. Everyone’s skin is unique, so adjusting ingredients might help you achieve the best results.